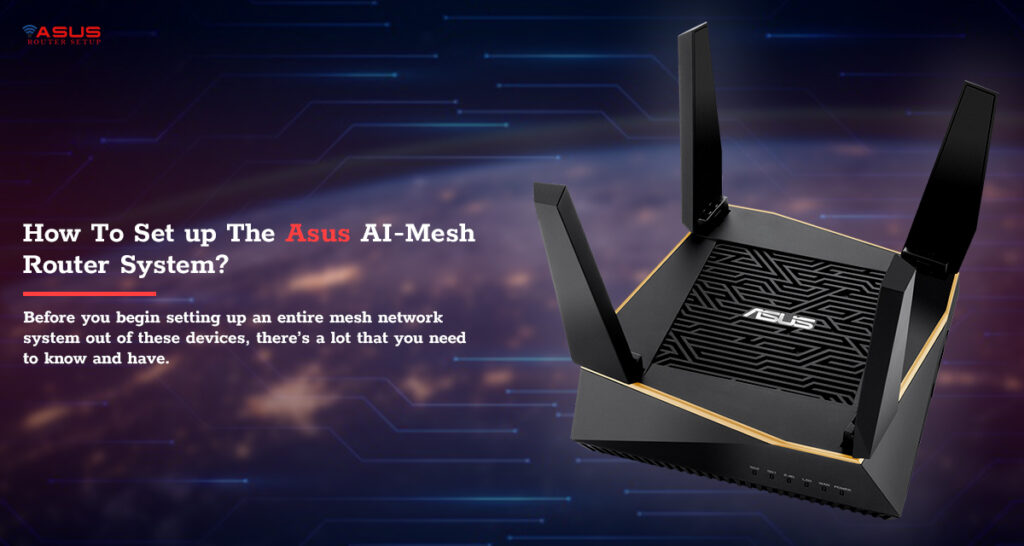
Asus AI-Mesh, as the name suggests, is a router system that supports wide-area signal coverage using multiple router devices. One of these devices acts as an Asus AiMesh router and the others work as AI Mesh Nodes. Now, before you begin setting up an entire mesh network system out of these devices, there’s a lot that you need to know and have.
Requirements For AI-Mesh Setup
1. Device Setup
- Two Asus wireless routers that support AI-Mesh
Note: Assign One router as a router and the other as an AI Mesh Node. Make sure you assign the router with the highest specs as an AI-Mesh router. The best setup combination is 1 AI-Mesh router + 4 AI-Mesh nodes.
- You’ll need to position the AI-Mesh router and the node within 1-3 meters of each other during the setup process.
2. Firmware Updates
- Connect your router and node devices to a power outlet and press the power button on the rear to switch on the devices.
- Notice the WAN, 2.4GHz, and 5GHZ LEDs on your devices to ensure that the hardware connection is ready.
- Connect your router to the computer using an ethernet cable.
- Open the web browser and in the address bar, type the web address https://www.router.asus.com and press the Enter key.
- When the router login wizard appears, type in the user credentials to sign in to the Asus setup wizard.
- On the Asus setup wizard, go to “Administration” and then click on “Firmware Upgrade”.
- In the Firmware Version section on the page, click on the “Check” button next to the “Check Update” tab.
Note: If there’s an update available, download the firmware file from the Asus Download Center. Upload the same to the AiMesh router as well as the Node.
- Once the firmware has been uploaded, go to the Network Map page to confirm if the AiMesh icon appears.
3. Reset the AiMesh Node to Factory Default
- Press the RESET button of the AiMesh node for at least 5 seconds and then release them once you see the power LED flashing.
- Once the RESET is complete, allow the AiMesh node to reboot and you can follow the steps for AiMesh setup.
Asus AiMesh Router set up Process
- Unplug the cable/DSL Modem and remove any batteries from the slot.
- Connect your MODEM to the AIMesh router using an Ethernet cable and then power on the MODEM again. Notice the LED lights on the front panel to confirm if the connections are active.
- Plug the power adapter and press the power button at the back of the router to power on your device. Check the WAN, 2.4G, and 5G LED lights on the router to ensure that the hardware connection is ready.
- Connect your PC to the AiMesh router using an ethernet cable. Use an ethernet cable to connect one of the LAN ports of the AiMesh router and the Computer.
- Look for the network name(SSID) of your router and connect to it. Remember that you won’t need a password for the same.
Setting up the devices
- Launch the web-based GUI using the web browser online and navigate to the main dashboard.
- Click on the General tab and go to the “network map” page. Here, click on the “AiMesh” icon and then on the “Search” button.
- Once you have clicked on the Search button, the Asus setup wizard will look for the AiMesh nodes. When the AiMesh node appears on the page, click on its name to add it to the AiMesh system.
- If the setup wizard is unable to find any AiMesh node, here are some steps you can follow:
- Check if the AiMesh node is powered on in the first place.
- Make sure you have upgraded the firmware to the latest version.
- Make sure that the AiMesh node has been reset to default.
- Check if the router and the nodes are in close proximity to each other.
Once the nodes and the router are in sync and have connected to each other, you can relocate them to a new spot.

