
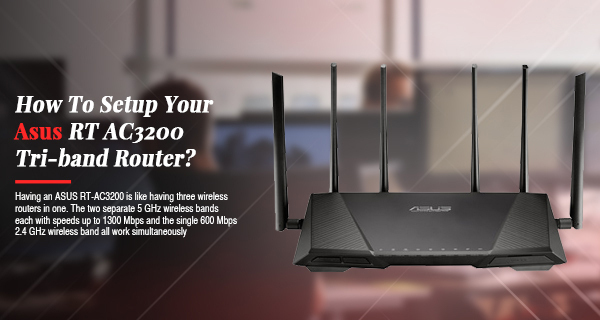
Back when dual-band technology was introduced with routers, it gave users the freedom to work online, seamlessly. Fast forward to today, with tri-band routers already invading the market, dual-band routers seem like the technology of yesterday. And why not, shifting to the tri-band networking devices can help you manage strenuous online tasks easily. If you are looking to have seamless internet connectivity throughout your home or office, shifting to the ASUS RT AC3200 can be the best decision. This blog will walk you through the steps to configure the network settings on your Asus RTAC3200 so you can get started with your work online without stopping.
Requirements for the Asus RT AC3200 setup
To set up your wireless network using the AC3200 router, you’ll need a computer that supports the following requirements:
- Ethernet RJ-45(LAN) port (10Base-T/100Base-TX/1000BaseTX)
- IEEE802.11a/b/g/n/ac wireless compatibility
- TCP/IP service installed
- A compatible web browser to access the login wizard
In case you do not have a wireless computer, you may also use a WLAN adapter to connect to the network. Also, make sure the computer or wireless device you are trying to connect to supports the 5GHz network band. Finally, make sure the ethernet cables you are using are not more than 100meters in length. This will make the signal transmission loss too evident and your home network might come off slower than expected.
Beginning with the Asus RT AC3200 installation
To start with, you can begin connecting your network devices to each other. It is recommended that you use a wired connection so setup issues can be avoided. Furthermore, before you connect your devices, if you have any existing router that you are going to replace, disconnect them from the network. Reboot your DSL modem and the computer system as well. Once ready, you can follow the steps as mentioned:
Wired Connection
- Insert the power cable of your router in the power inlet port.
- Connect the network cable to your computer and one of the router’s LAN ports. Also, connect your router to the DSL modem using another network cable.
- Once connections are made, power on the devices and allow them to boot up.
Wireless Connection
- Insert the power cable of your router in the power inlet port.
- Connect your router to the DSL modem using a network cable.
- Once connections are made, power on the devices and allow them to boot up.
- Power on your computer and connect to the Asus RT AC3200 router’s local network.
Accessing the Asus Router Login Page
The web-based settings management wizard can help you configure the network settings easily. And for the router setup, you can begin with accessing the login page. Here are some steps you can follow:
- Launch a web browser and type the default web address http://router.asus.com in the address bar. You can use the IP address 192.168.1.1 as well. Press Enter.
- The Asus RTAC3200 login page will appear on the screen. Type admin in both the username and password fields. Click on the Login button.
- Once you are logged in to the web-based setup wizard, you will be redirected to the Quick Internet Setup page. Here, you can proceed with the setup process easily.
Setting up your Asus RT-AC3200 router
- The Quick Internet Setup wizard will detect the ISP connection type.
- If the connection type is Dynamic IP(DHCP), you will be redirected to the next step automatically.
- In case it is Static IP, select the Static IP option and click on the Next button. Then, type in the IP address, subnet mask, default gateway, and the DNS server information as provided by the ISP. Finally, click on the Next button.
- On the next screen, type in the username and password for your internet connection type that you obtained from your ISP(Internet Service Provider).
- Click on the Next button and wait until the router redetects the internet connection type. Once done, the “Smart Connect” screen will appear.
- Now, click on the Next button to go to the setup page.
- The page will give you two Smart Connect options, namely- Triband Smart Connect and Standard Setup.
Tri-band Smart Connect: Select this option if you are looking to enable the Smart Connect feature for 2.4GHz, 5GHz-1, and 5GHz-2 frequency bands at the same time. The router will then automatically shift your devices to the most appropriate band as required.
Standard Setup: If you select this option, you can set up any of the three bands independently.
- As the next step, assign a network name and password for your selected network connection.
- Click Apply and wait for the setup process to complete.
Once the Asus RT AC3200 setup process is complete, you can connect your wireless devices to the network using the credentials as specified.